

Extend a Migration
Extend an expired migration, review the inherited package and renewal charges, complete payment, and verify the order and renewed access.
Extend a Migration
Section titled “Extend a Migration”Use Extend Migration to renew access to an expired purchased migration. The extension stays attached to the same project.
Screenshots illustrate the workflow and include prices from an earlier pricing schedule. Use Entity Points, Plans, and Service Pricing for the published plan amounts and review Checkout or the finalized quote for the amount due. Historical paid-order amounts remain records of those transactions.
Before you start
Section titled “Before you start”Confirm the intended Expired migration and its Source-to-Target path. Do not purchase an unrelated new migration solely because the previous service period ended.
Extension preserves the fixed migration path and every established Store URL lock. Review Store URL Locking and Store Identity if the next migration activity involves a different store URL.
Expiration notifications
Section titled “Expiration notifications”Next-Cart sends automated reminders 30 days and 7 days before expiration. Each email identifies the migration and its expiration date.
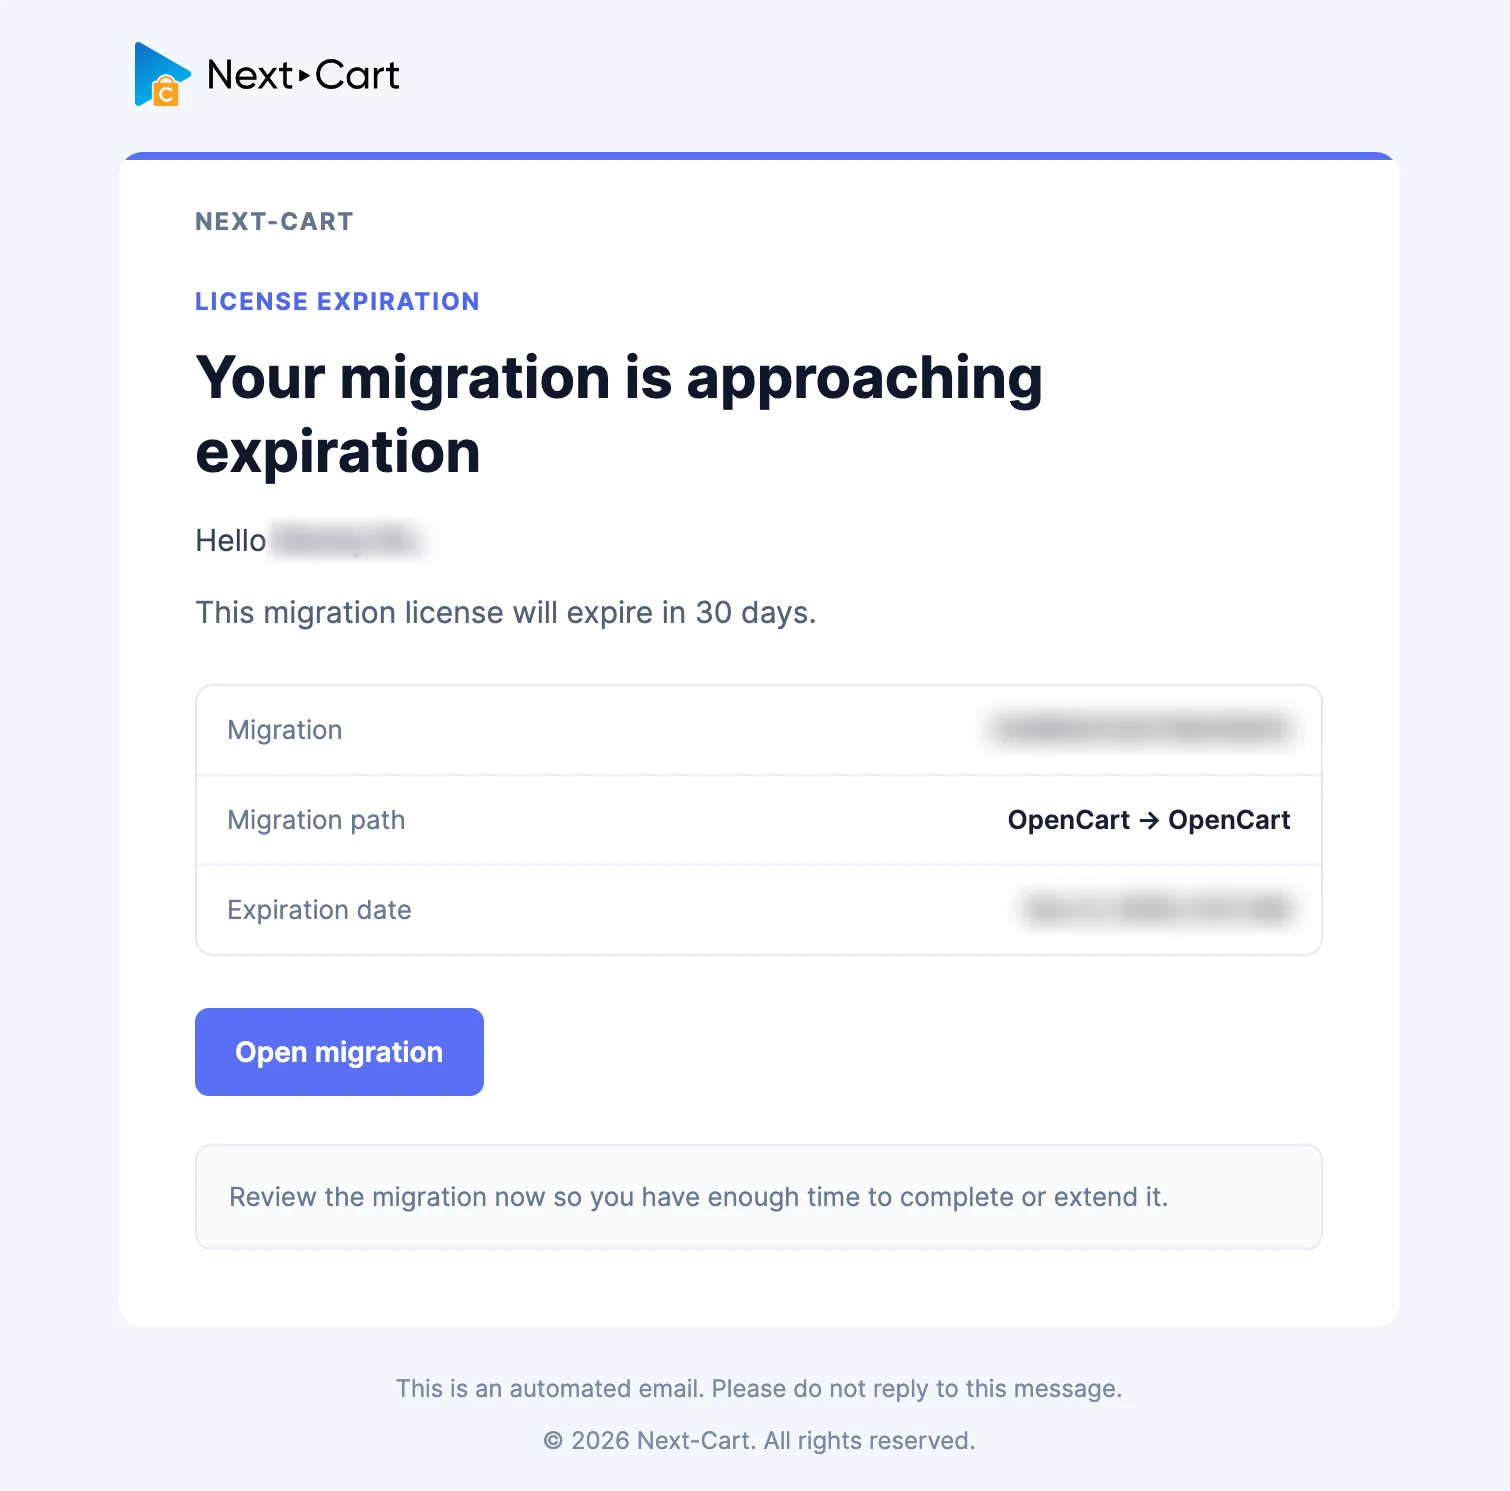
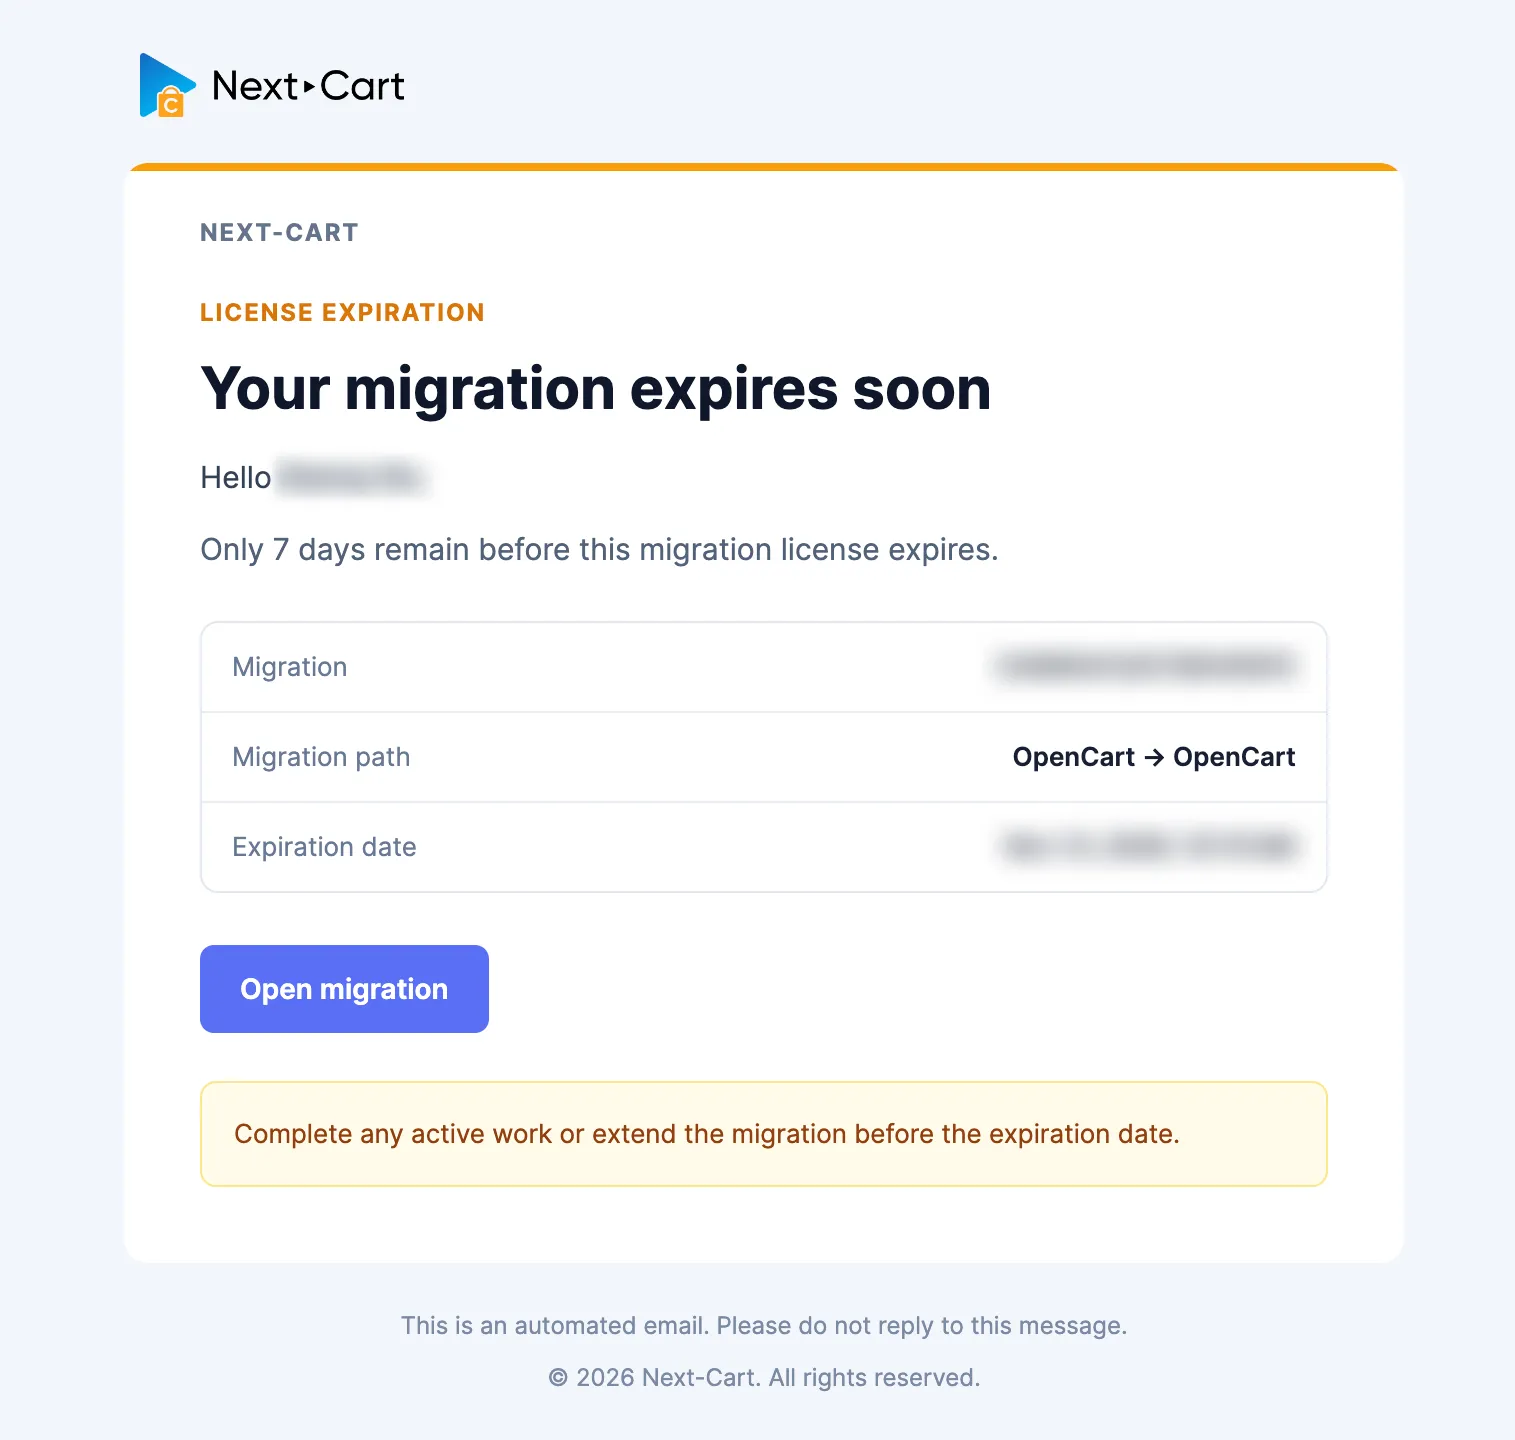
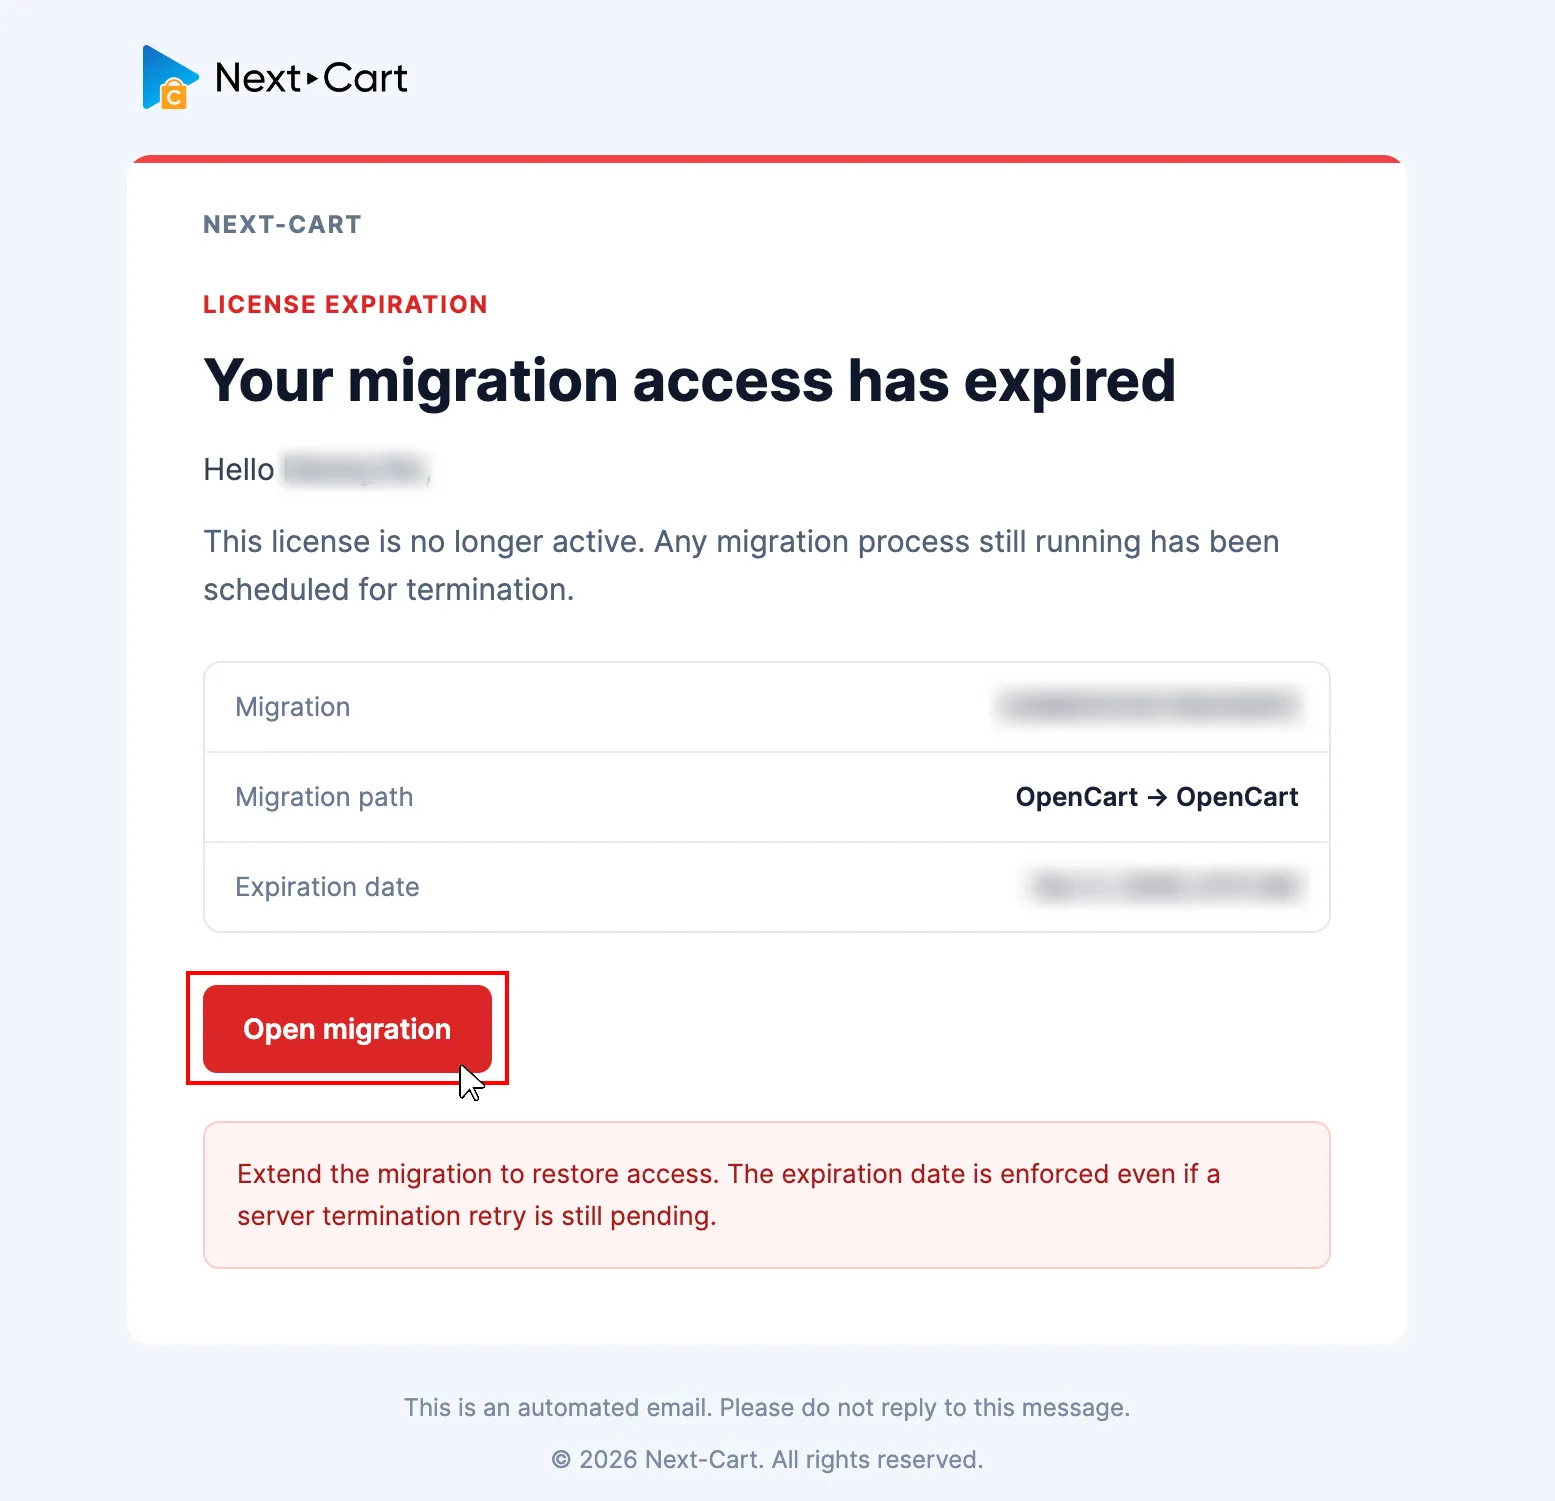
When the migration expires, Next-Cart sends an expiration notice and the record changes to Expired. Use either entry route below to open that record.
Step 1: Open the expired migration
Section titled “Step 1: Open the expired migration”-
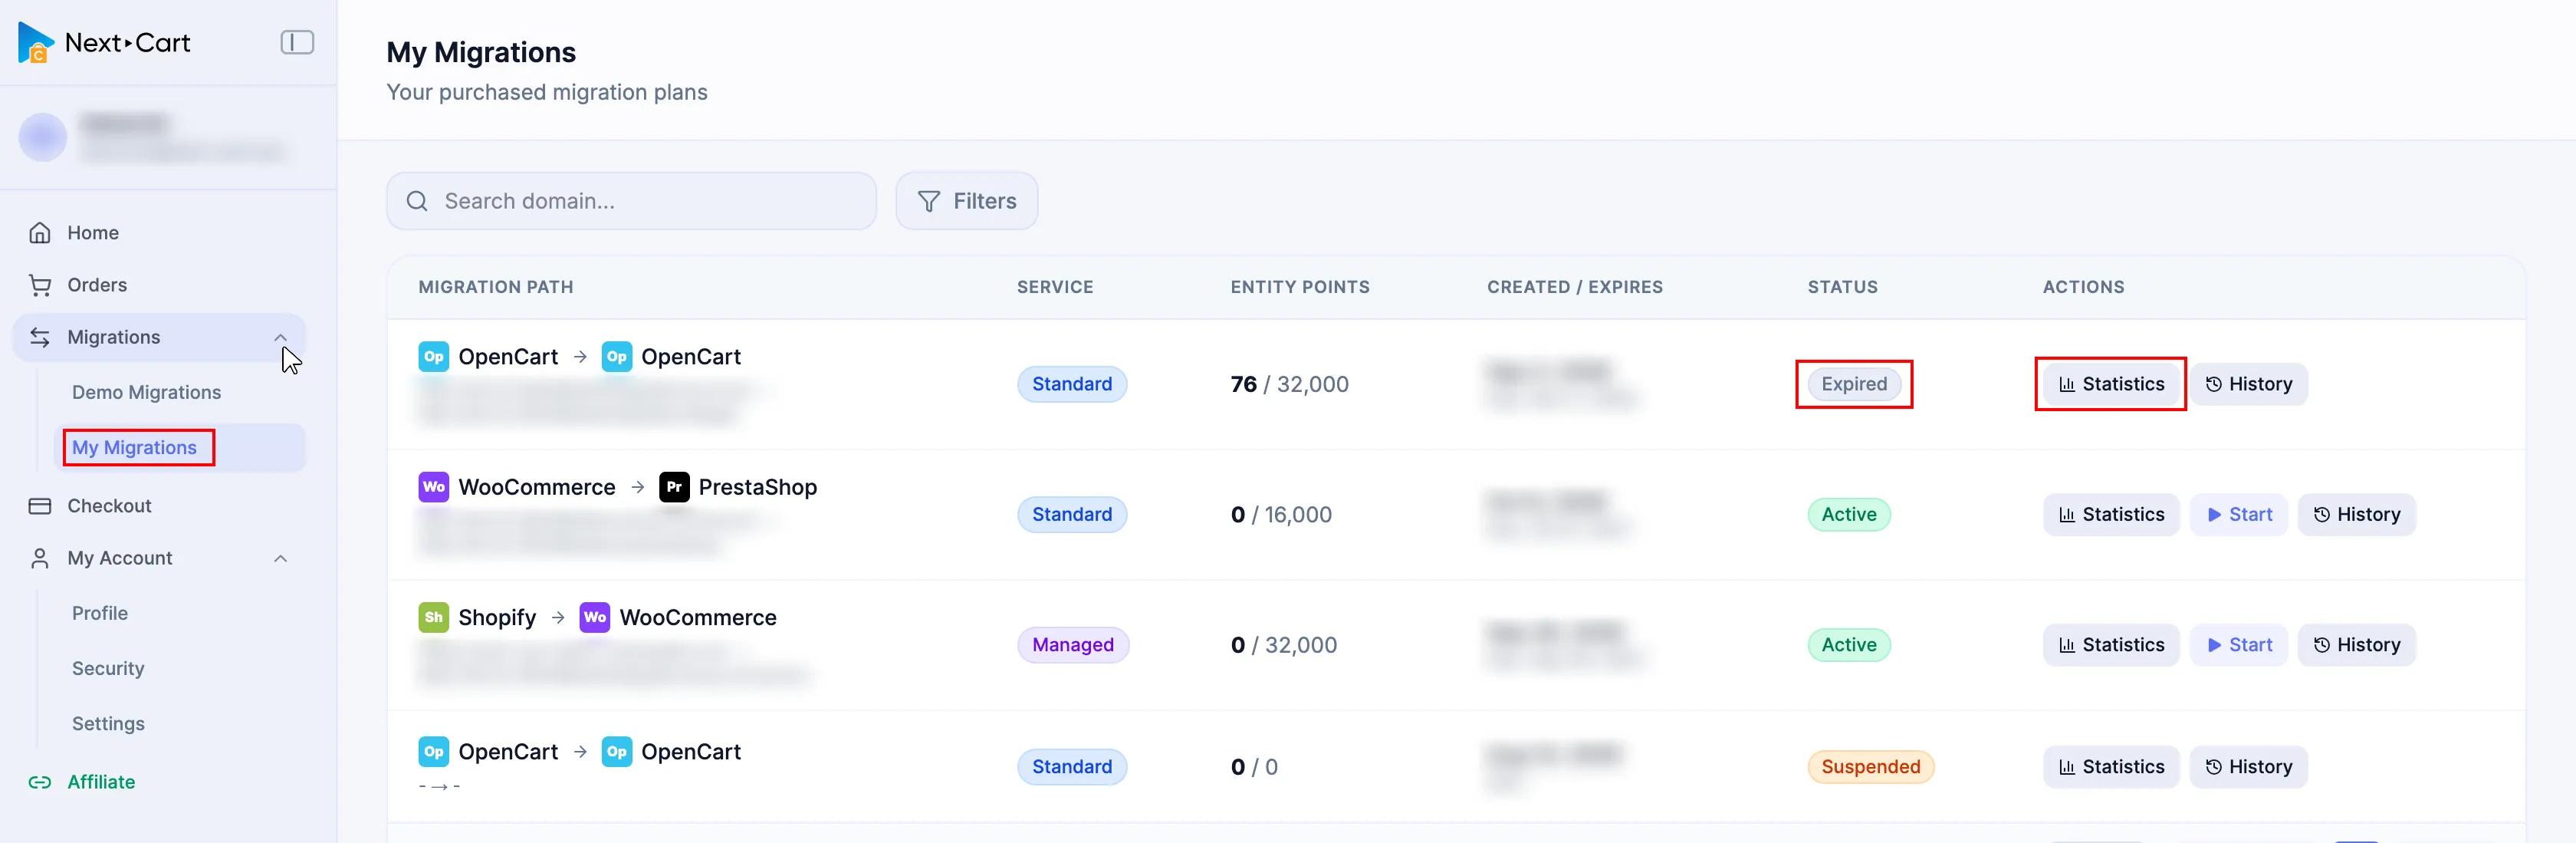
Sign in to Next-Cart, expand Migrations, and select My Migrations.
-
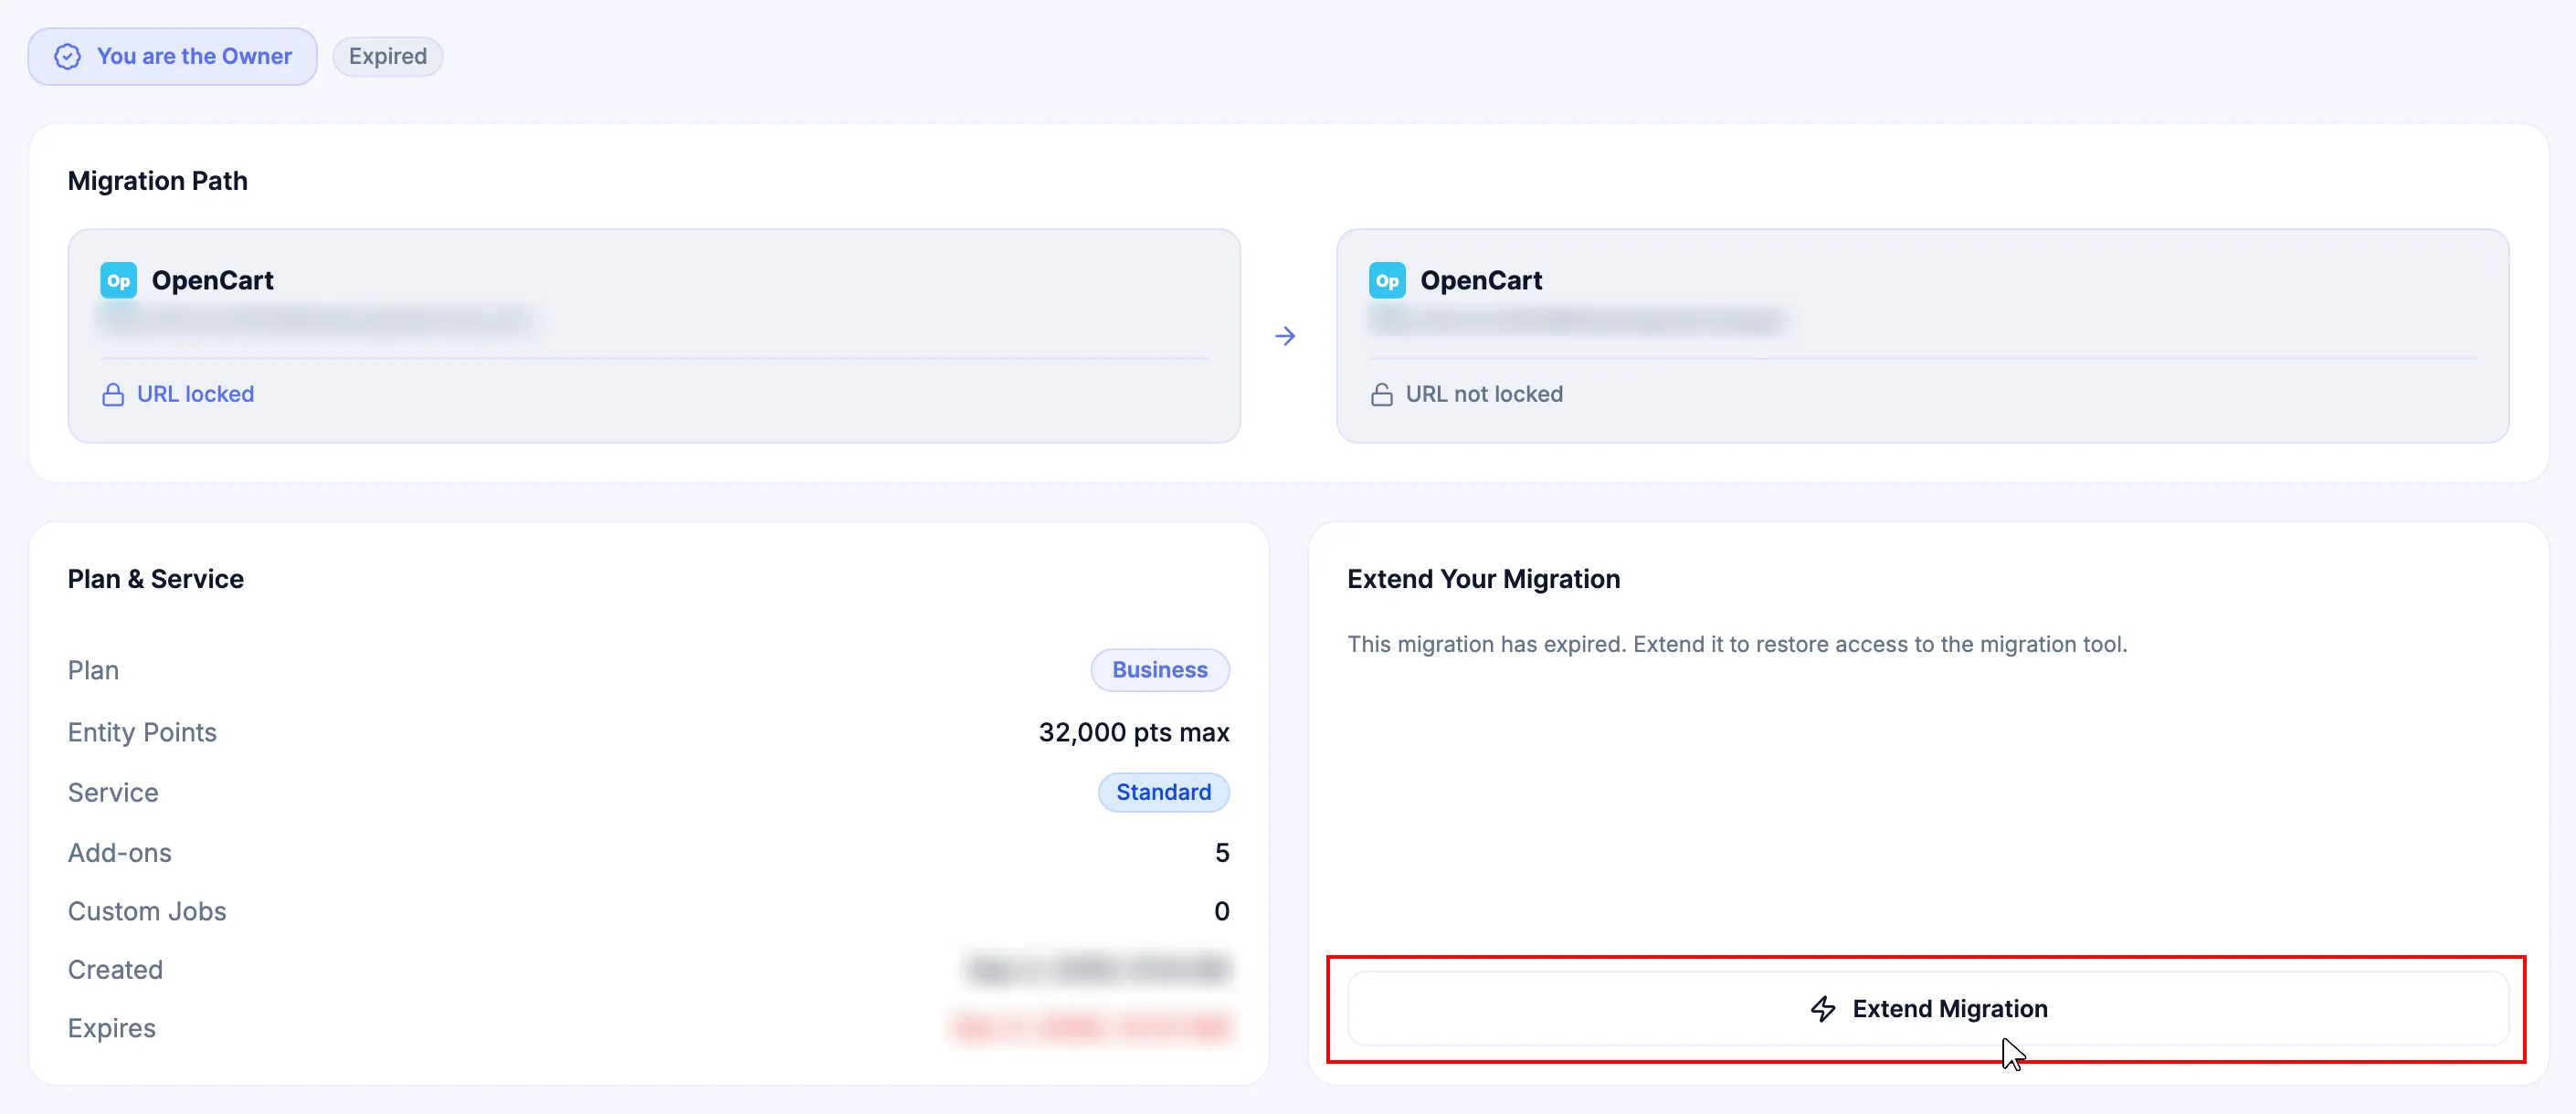
Find the intended Expired migration, confirm its Source and Target platforms, and select Statistics.
Select Open migration in the expiration notice for the intended project.
Step 2: Open the extension in Checkout
Section titled “Step 2: Open the extension in Checkout”In Statistics, select Extend Migration. Checkout opens with the migration’s last recorded configuration already loaded.
Step 3: Review the extension package
Section titled “Step 3: Review the extension package”Review the inherited configuration before placing the order. Screenshot values, available Add-ons and charges vary by migration.
-
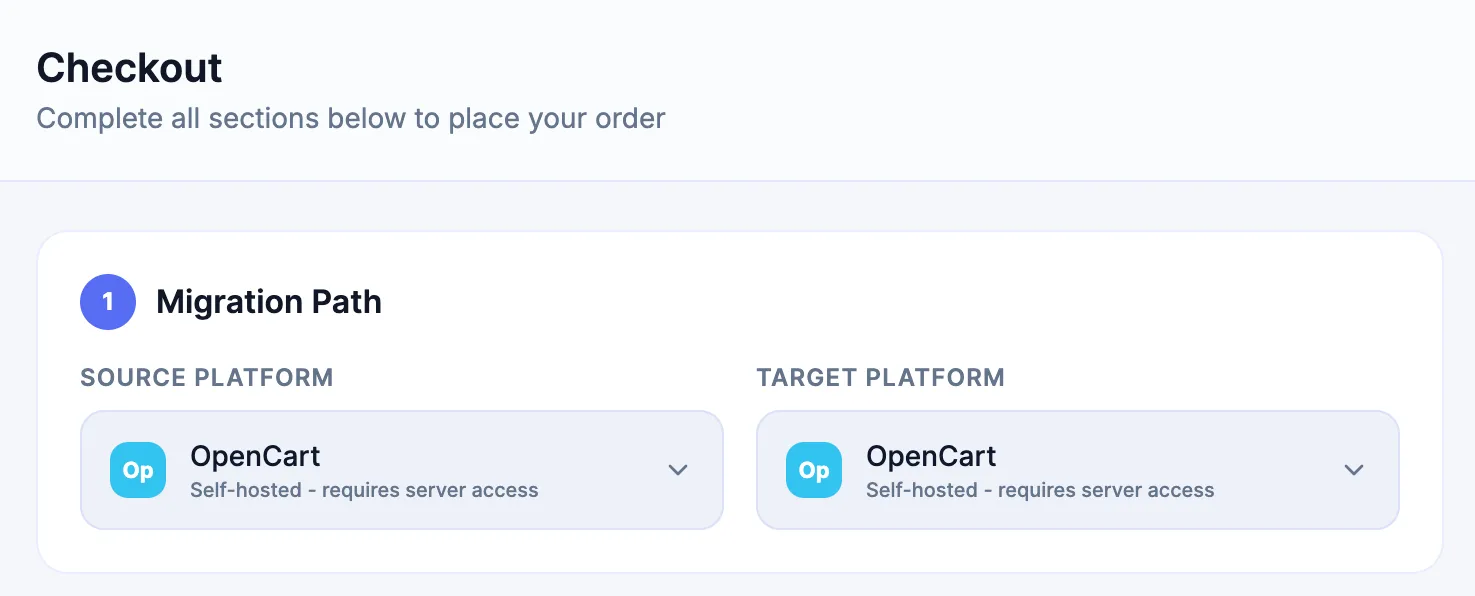
Confirm the migration path
Check the original Source Platform and Target Platform. They cannot be changed through extension.
-
Review the Service and Entity Points Plan
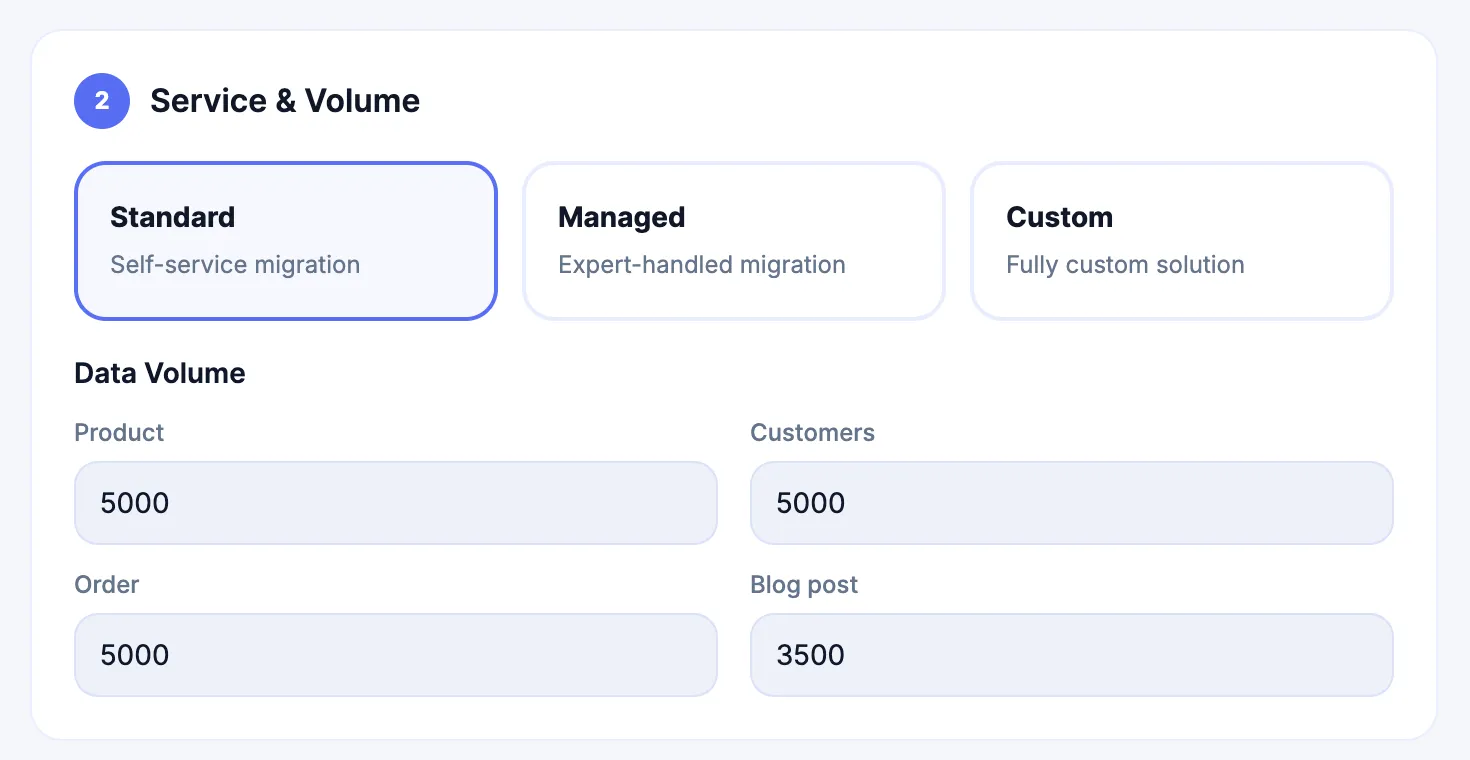
In Service & Volume, review the selected Service and data-volume estimates. Standard, Managed and Custom correspond to Standard Migration, Managed Migration and Custom Migration.
The inherited Service tier and Entity Points Plan are the minimum selections. The plan includes any previously purchased plan upgrades. You can select a higher Service tier or plan, but neither can be downgraded.
-
Review the Add-ons
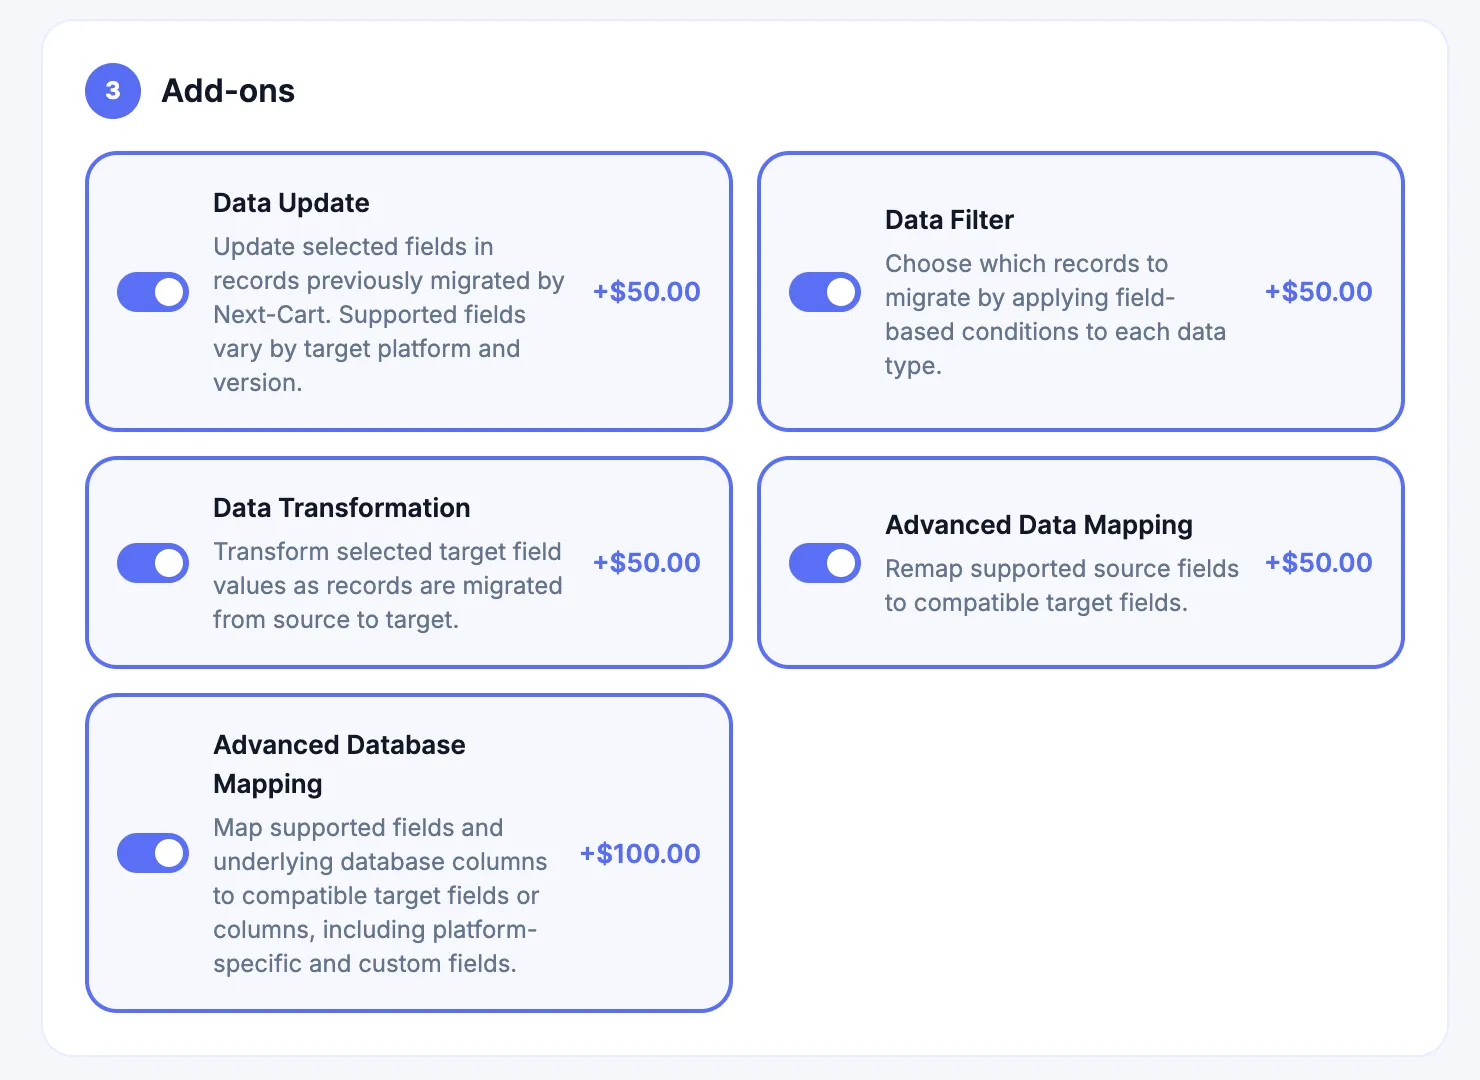
Previously purchased Add-ons remain included and must be purchased again for the extension period. You can add further supported Add-ons, but cannot remove previously purchased ones. Use Add-ons for their configuration guidance.
-
Review Custom Jobs when using Custom Migration
Associated Custom Jobs must also be paid for again upon extension.
-
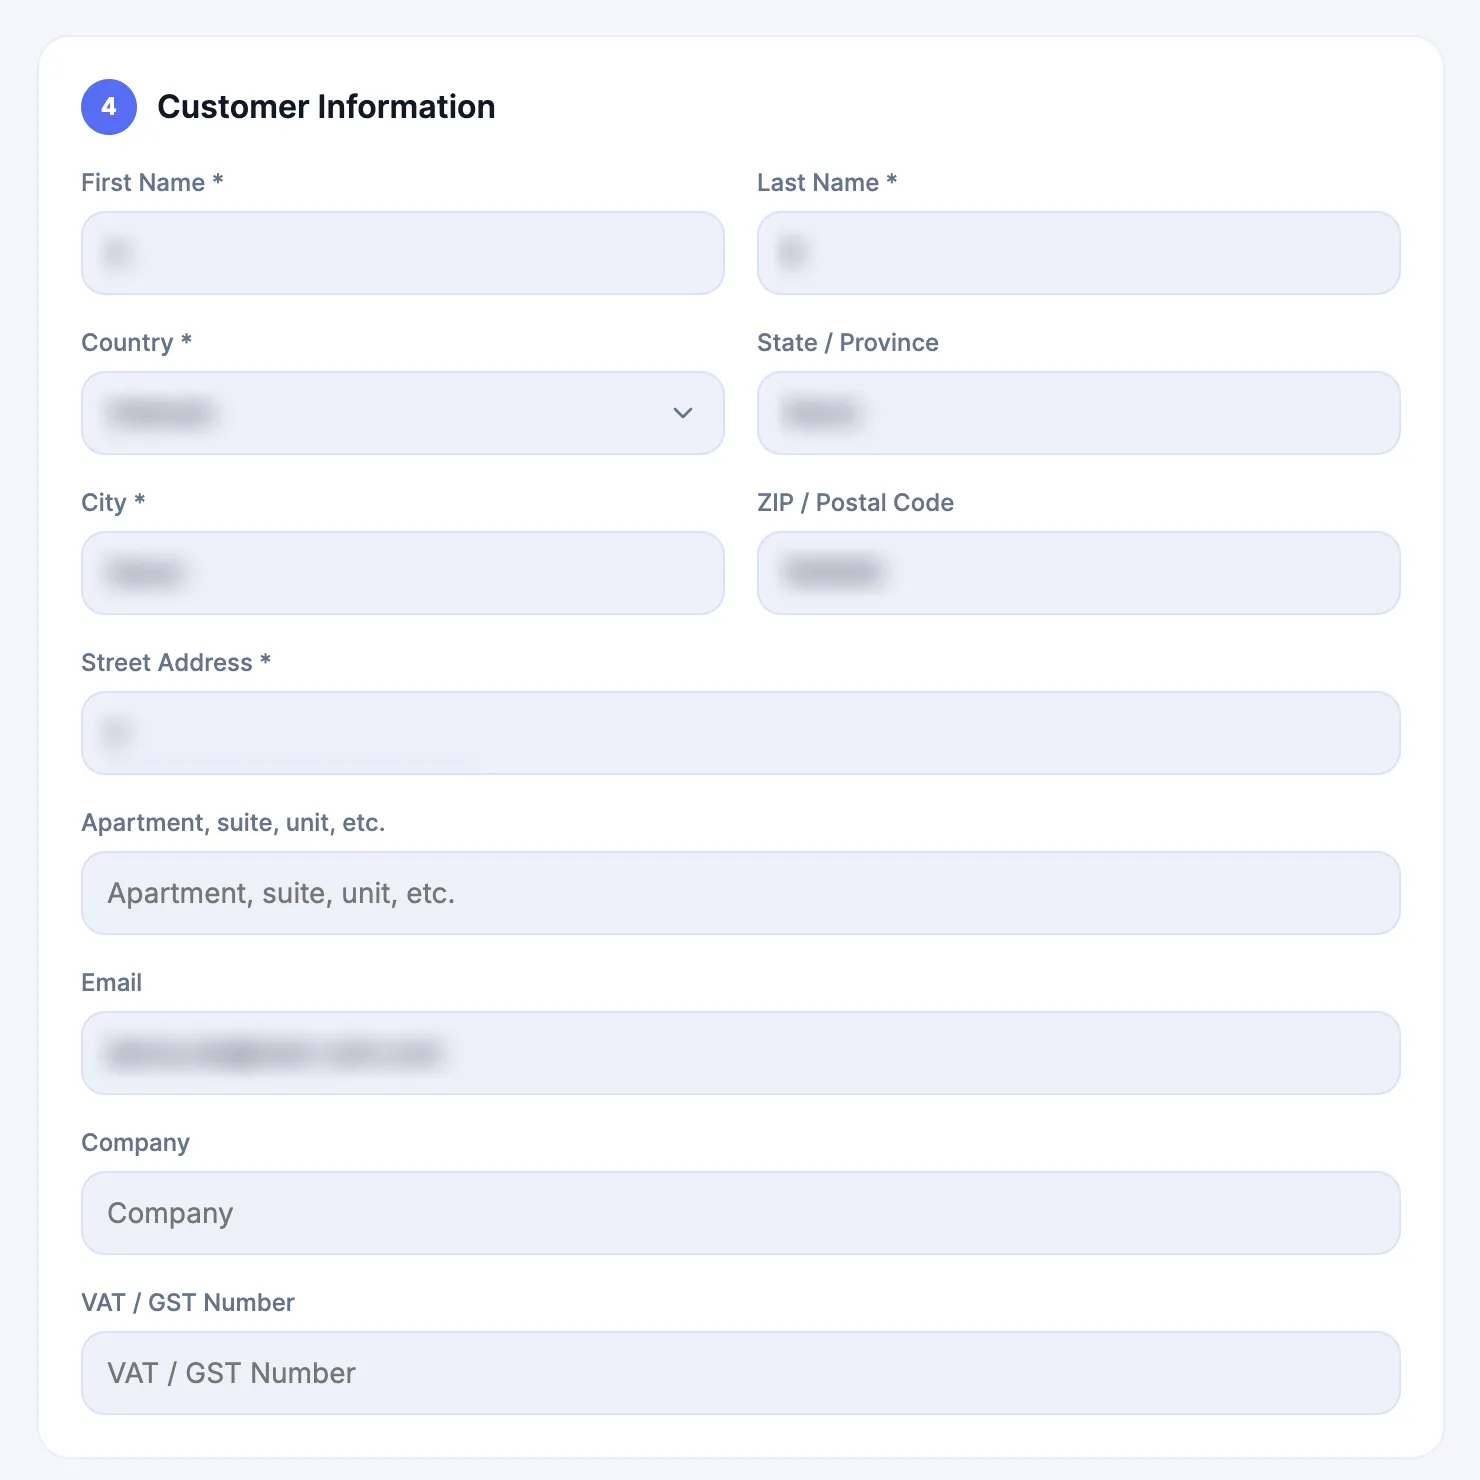
Check Customer Information
Correct the customer, address and contact details needed for the order and invoice.
-
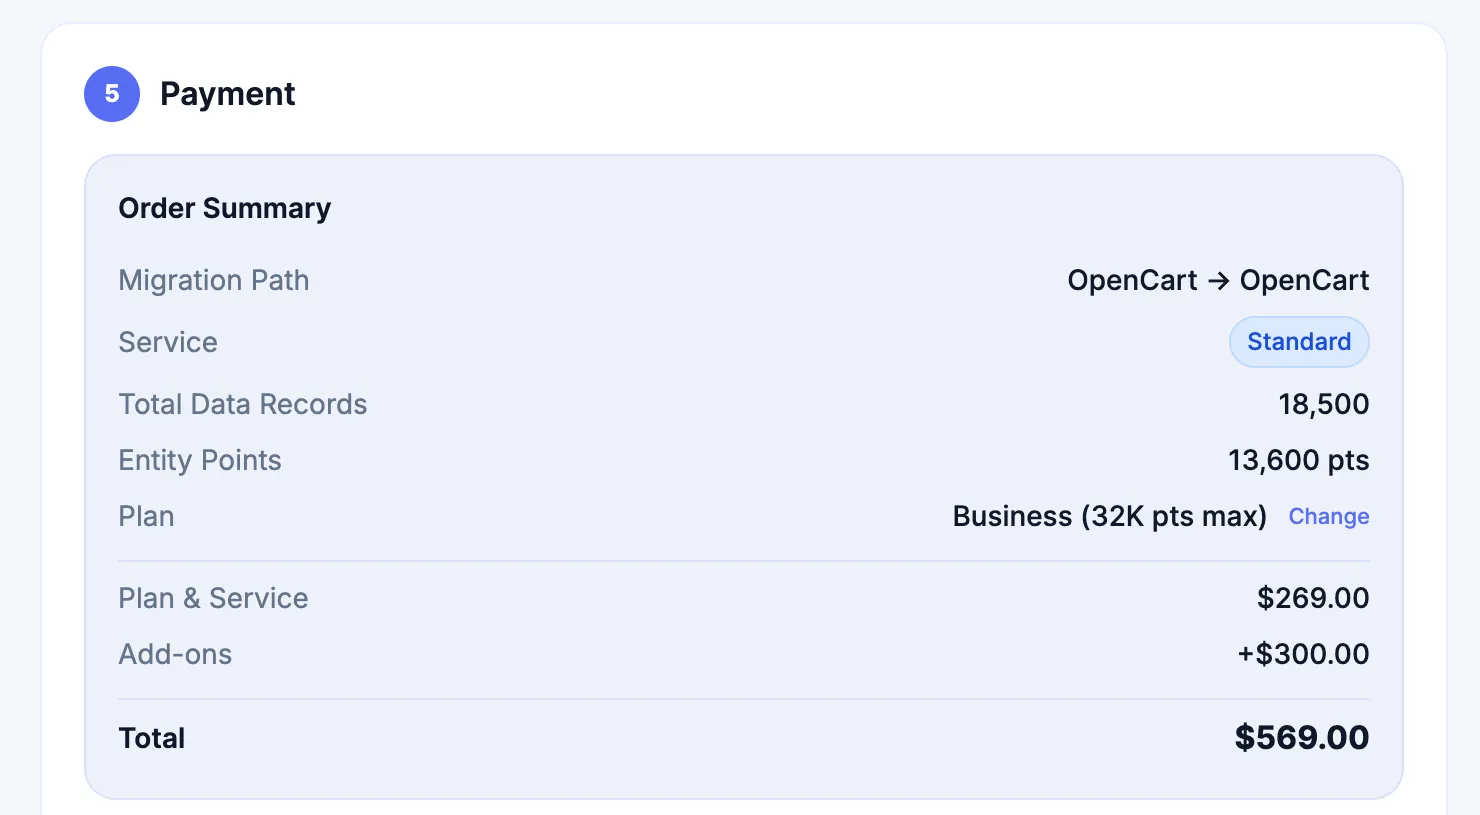
Review the Order Summary
In Payment → Order Summary, confirm the migration path, Service, Entity Points, Plan, Add-ons, applicable Custom Jobs charges and Total. Use Change beside Plan if you need a higher plan.
Step 4: Place the Extend order
Section titled “Step 4: Place the Extend order”-
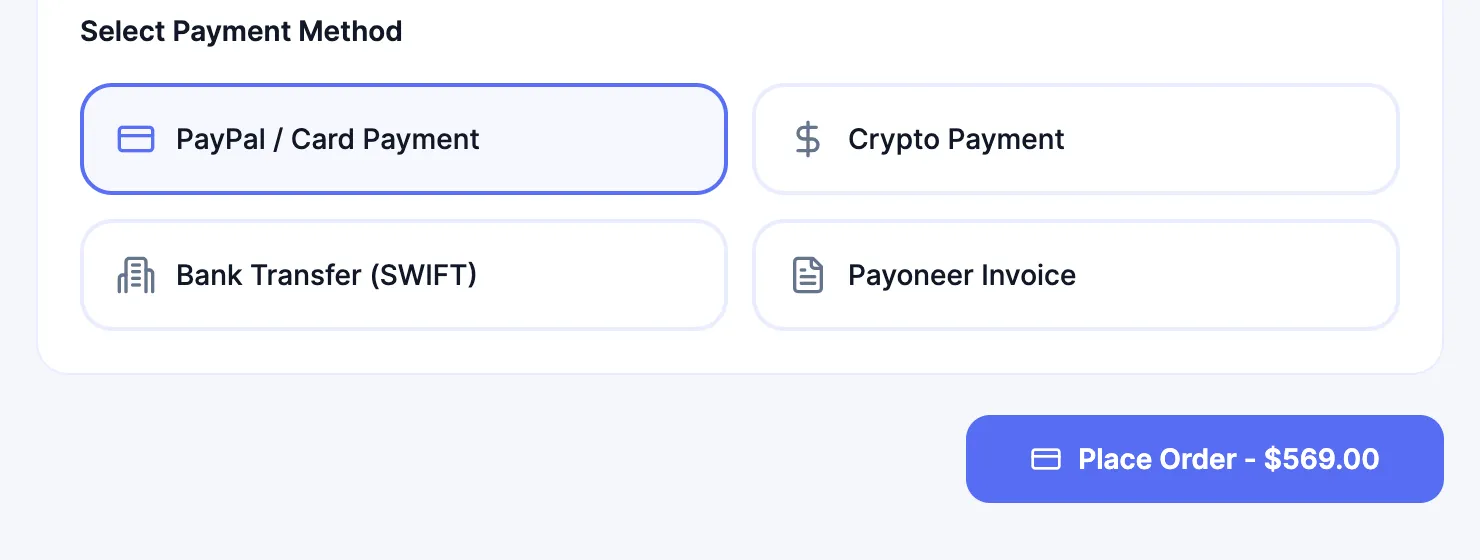
Select an available payment method.
-
Select Place Order after the package and displayed charges are correct. The button shows the amount due for your order.
Step 5: Complete payment
Section titled “Step 5: Complete payment”-
Complete the selected payment workflow using Payment Methods and Verification.
-
Open Orders, locate the transaction for the intended migration, and confirm Type: Extend and Status: Paid.

Verify the extension
Section titled “Verify the extension”-
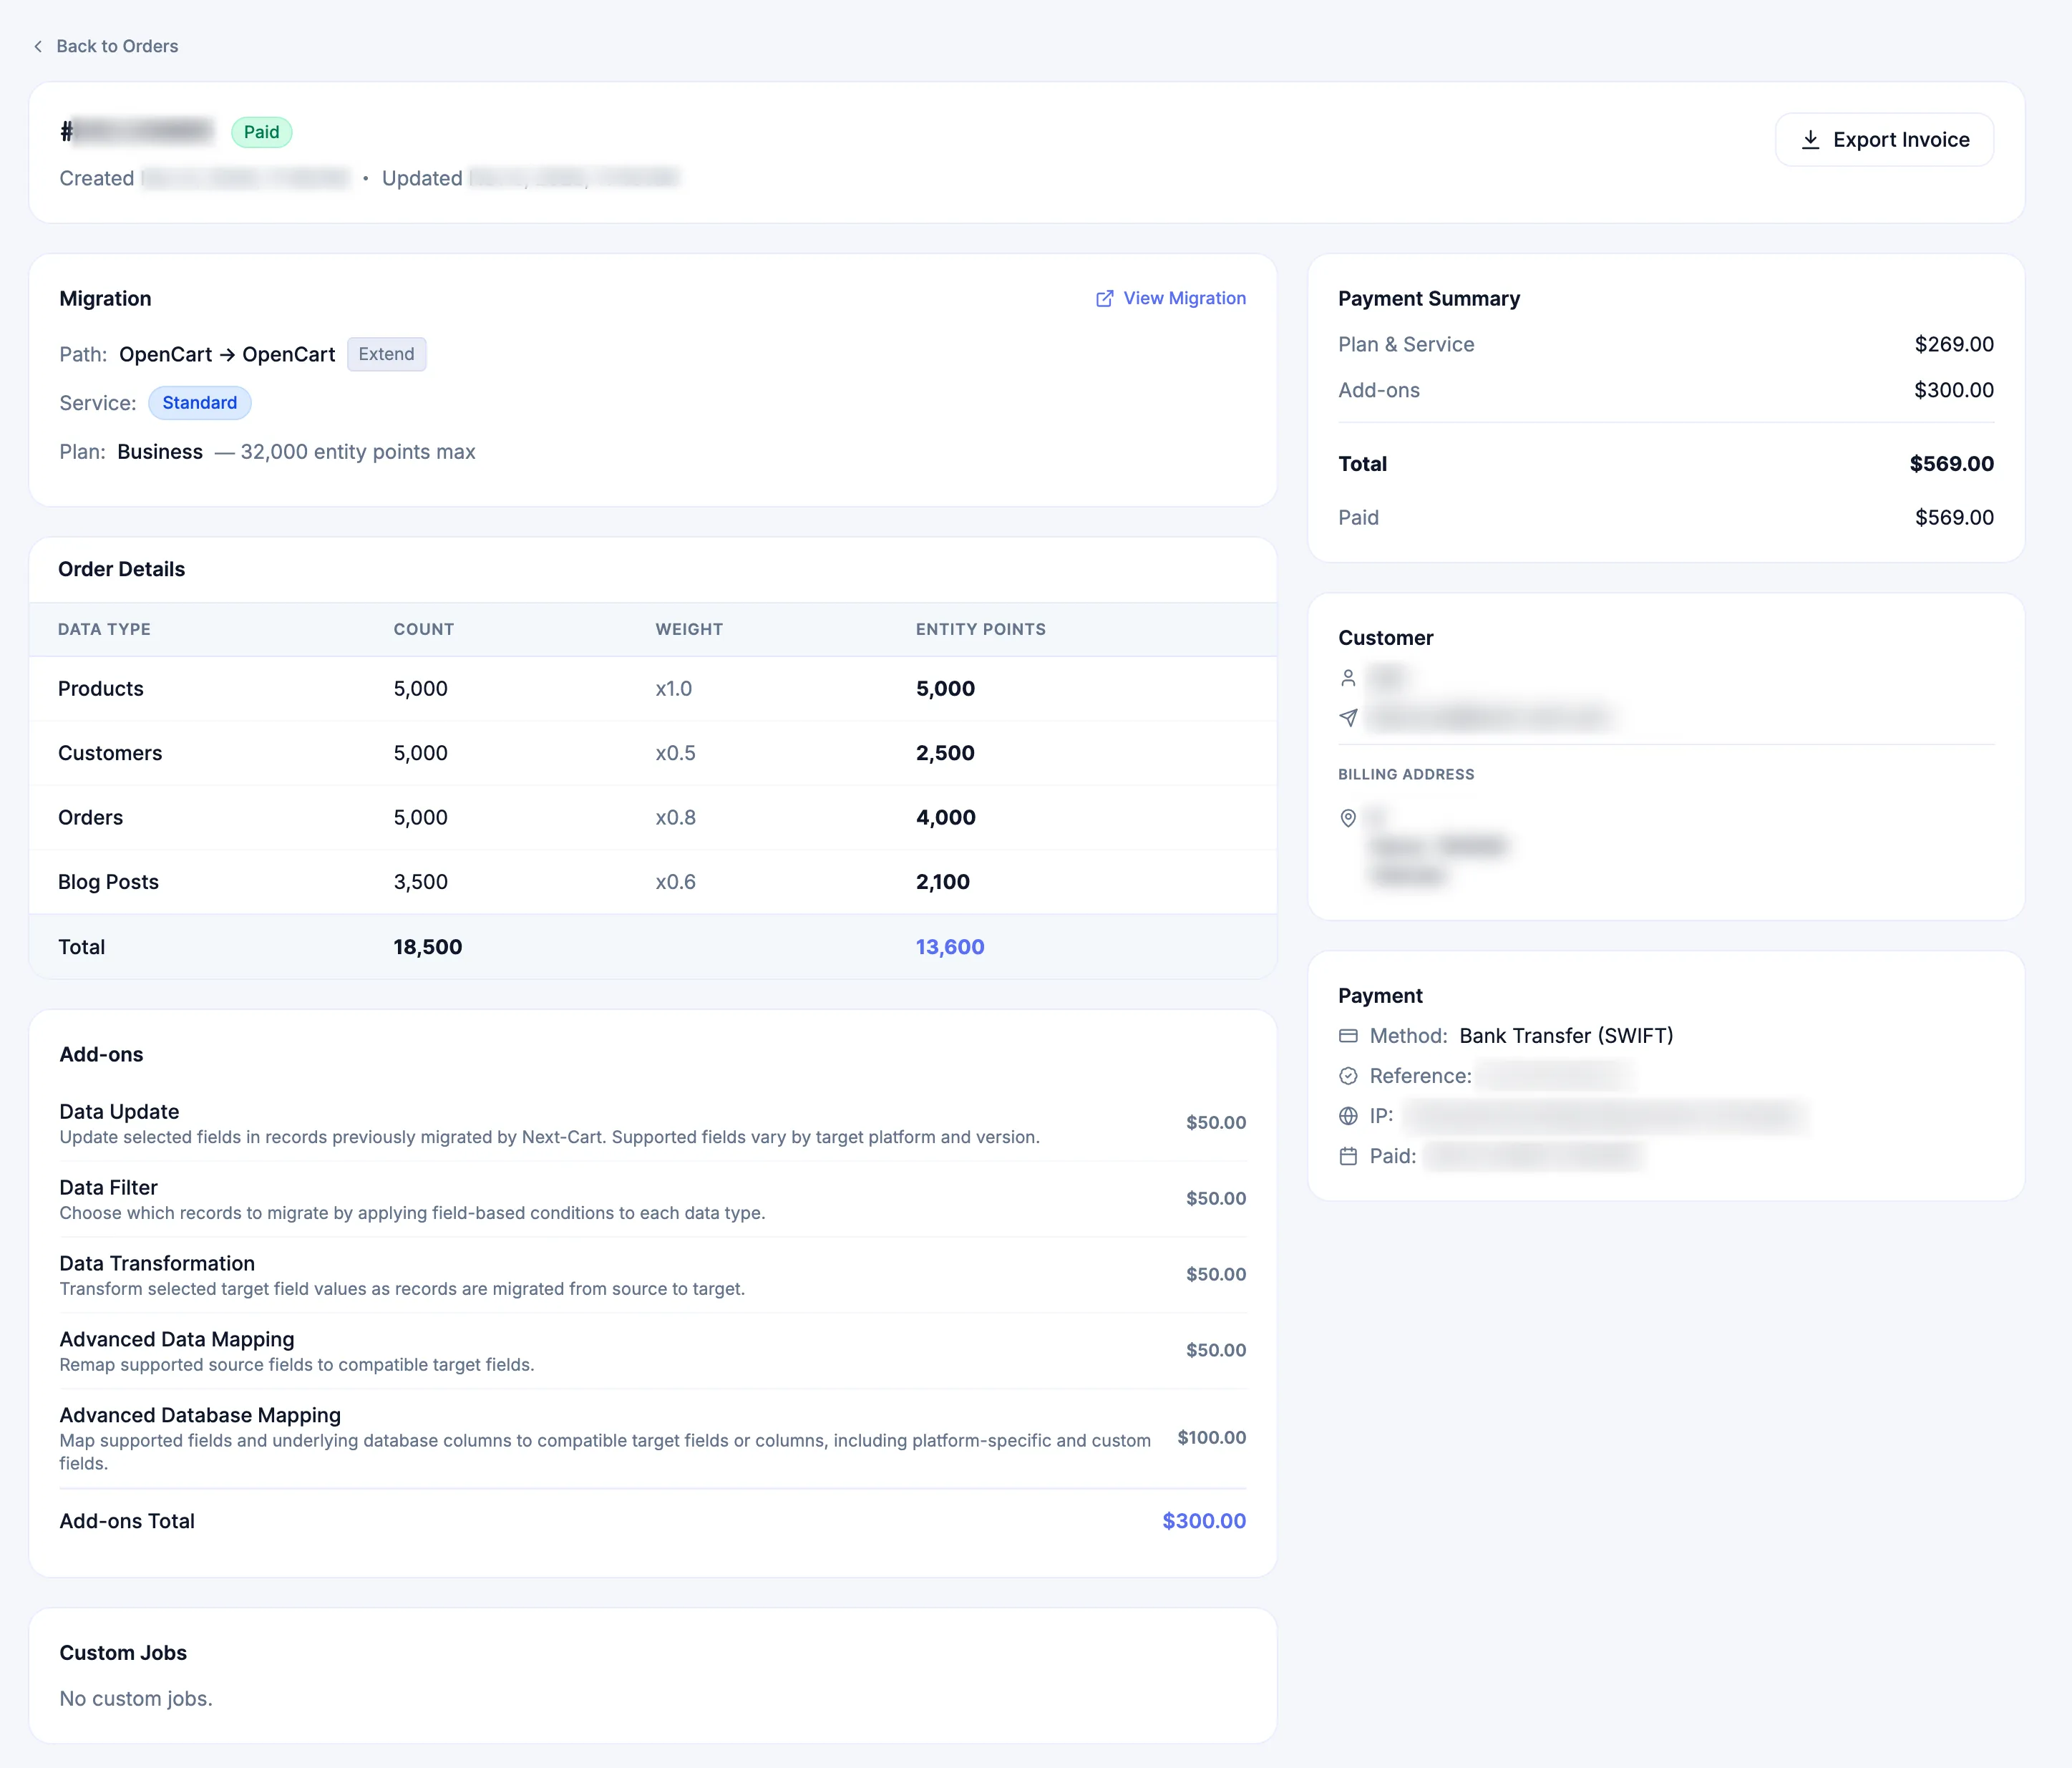
Select Details for the Paid Extend order. Review the purchased Service, Plan, Add-ons, applicable Custom Jobs and Payment Summary. The example below uses Standard Migration and has no Custom Jobs.
-
Select View Migration from Order Details, or Migration from the Orders list, to open the project’s management page. Scroll to Linked Orders to review all associated transactions and their statuses.
New identifies the initial purchase; Upgrade and Extend identify later transactions on the same migration.

-
Review Statistics to confirm the package and access actually in effect against the checks below.
| Check | Pass condition |
|---|---|
| Order | The Extend order is Paid and its purchased configuration is correct. |
| Project | The same migration retains its original Source-to-Target path and established Store URL identity. |
| Package | Service, Entity Points Plan, purchased Add-ons and any associated Custom Jobs match the settled Extend order. |
| Access | Status is Active, subject to any other project requirements. |
| Service period | Expires reflects a new 12-month period from the successful extension-payment settlement timestamp. |
Use Orders for billing and transaction history; Statistics shows the package actually in effect.
Failure handling
Section titled “Failure handling”| Issue | What to do |
|---|---|
| Checkout shows the wrong project or path | Stop before payment. Reopen the intended expired record and select Extend Migration there. |
| The package or Total is unexpected | Recheck the extension package before placing the order. Contact Support if the discrepancy remains. |
| Payment was sent but the order is not Paid | Do not pay again. Follow payment recovery with the Order # and payment reference. |
| The order is Paid but access, package or Expires is incorrect | Compare Linked Orders with Statistics, keep the Order # and project details, and submit a Support Ticket before relying on the disputed result. |
Support and execution responsibility
Section titled “Support and execution responsibility”Renewed support follows the applicable SLA. Extension does not provide unlimited technician-operated migrations; configuration adjustments and expert work remain subject to the active Service and accepted scope.
Use Service and operation-mode responsibility to confirm who runs the migration. For Custom Migration, confirm Customization readiness before dependent work.
Next Steps
Section titled “Next Steps”Continue through Migrations to operate the renewed project according to the selected Service and agreed responsibility.